🔥 How to Build a Bushcraft Cooking Tripod (Step-by-Step Guide)
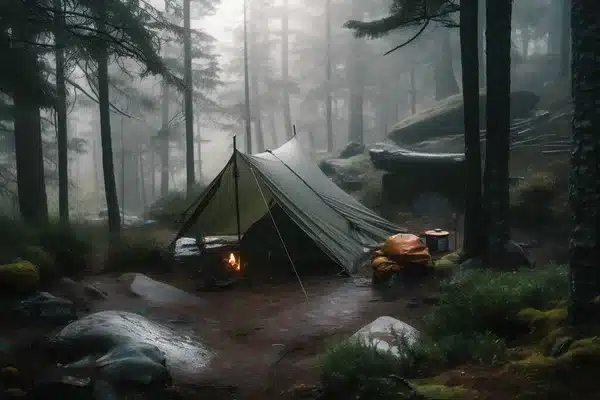
When you’re out in the wild, cooking over an open fire isn’t just about survival — it’s about comfort, morale, and old-school outdoor skills. One of the most practical tools you can build with nothing but wood, rope, and a knife is the bushcraft cooking tripod.
This post contains affiliate links. I may earn a small commission at no extra cost to you. Learn more.
This guide walks you through what it is, why it matters, and exactly how to build one yourself.
Bushcraft Cooking Tripod Gear Checklist:
🌲 What is a Bushcraft Cooking Tripod?
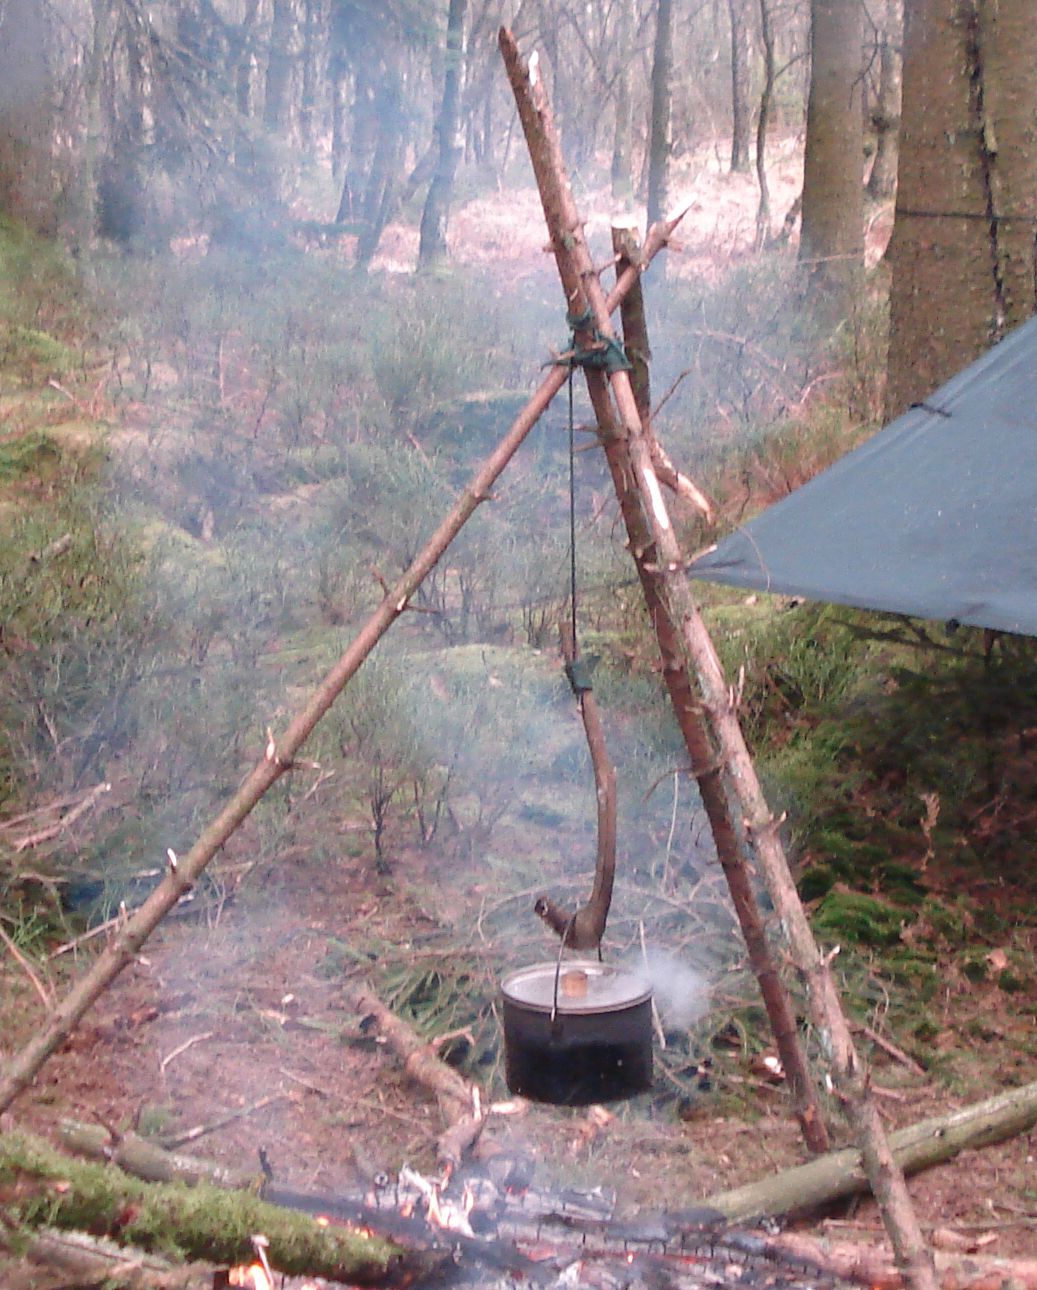
A bushcraft tripod is a simple three-legged wooden stand, lashed together at the top and used to suspend a cooking pot or kettle over a fire. It’s one of the oldest cooking setups known to man, and versions of it have been used by nomadic cultures, hunters, and military camps for centuries.
Why it matters in survival:
-
✅ Controlled Cooking: Keeps cookware at a safe distance above the fire, preventing burning or boiling over.
-
✅ Efficient Boiling: Makes purifying water easier and safer.
-
✅ Hands-Free Cooking: You don’t have to hold your pot or pan over the flames.
-
✅ Multipurpose Use: Works as a drying rack for clothes, gear, or even wild edibles.
-
✅ Primitive Engineering Practice: Building one teaches essential knot-tying, lashing, and structural balance skills.
If you’re serious about bushcraft or prepping, knowing how to rig a tripod is as foundational as fire-making or shelter-building.
Primitive setups still deliver when modern gear fails — check the 🍳 Campfire-Free Cooking Guide for all your off-grid meal prep options.
🪓 Materials You’ll Need
You don’t need fancy tools for this project — just a bit of know-how and some basic bushcraft gear.

-
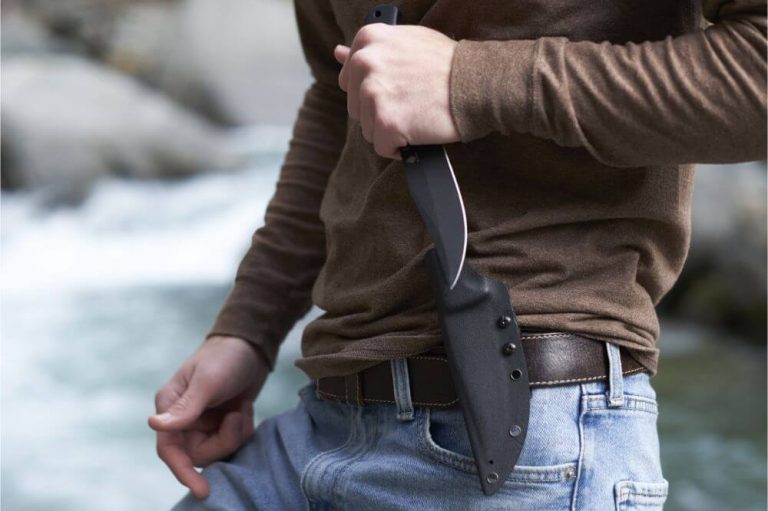
🔪 Bushcraft Knife or Hatchet – for cutting and shaping wood
-
🌲 Three sturdy poles (5–6 ft long, thumb-thick branches are ideal)
-
🪢 Cordage (paracord, bank line, jute, or even natural vines)
-
🔥 Optional: S-hook, chain, or toggle system for hanging cookware
👉 Pro Tip: Natural cordage (like spruce roots or stripped bark) works in a pinch, but paracord is far stronger and reusable. Stock up here on Amazon ✅.
🪢 Step 1: Gather and Prep Your Poles
-
Choose three branches of roughly the same length and thickness.
-
Trim off side branches and bark for smooth contact points.
-
Sharpen the ends slightly if you want them to grip better in soft soil.
-
Use green wood (fresh cut) rather than dead, dry wood — it resists catching fire.
🪝 Step 2: Lash the Tripod Together
This is the critical step that keeps your tripod standing.
Lay the poles side by side on the ground.
Start your cordage with a clove hitch on one pole.
Wrap the cord around all three poles 5–7 times, pulling each wrap tight.
Add frapping turns (wrapping between the poles) to cinch everything snug.
Finish with another clove hitch or square knot.
👉 If your cordage is short, splice pieces together with square knots. If you’re using natural vines, soak them in water first to add flexibility.
The key is tension. A loose lashing will collapse as soon as you hang weight from it.
🔼 Step 3: Stand It Up
-
Lift the poles and spread them evenly until you get a stable tripod stance.
-
Make sure the legs are planted firmly in the ground — push them in if soil allows.
-
Test it by tugging gently before hanging cookware.
🍲 Step 4: Add the Cooking Suspension
Now for the functional part:
-
Tie a chain, S-hook, or cord to the lashing point.
-
Hang your pot or kettle so it rests above but not inside the flames.
-
For versatility, make an adjustable toggle system:
-
Tie a stick into the cord and use it like a peg, moving it up or down to change cooking height.
-
👉 Want precise height control? Carry a small steel S-hook or adjustable chain section in your bug-out bag.
⚒️ Bushcraft Tripod Variations
The tripod can evolve into more complex bushcraft rigs:
-
🔥 Tripod + Crossbar: Lash a horizontal stick across the top and hang multiple pots. Great for group cooking.
-
🔥 Tripod with Grill Grate: Place a metal grate across the legs for frying or direct grilling.
-
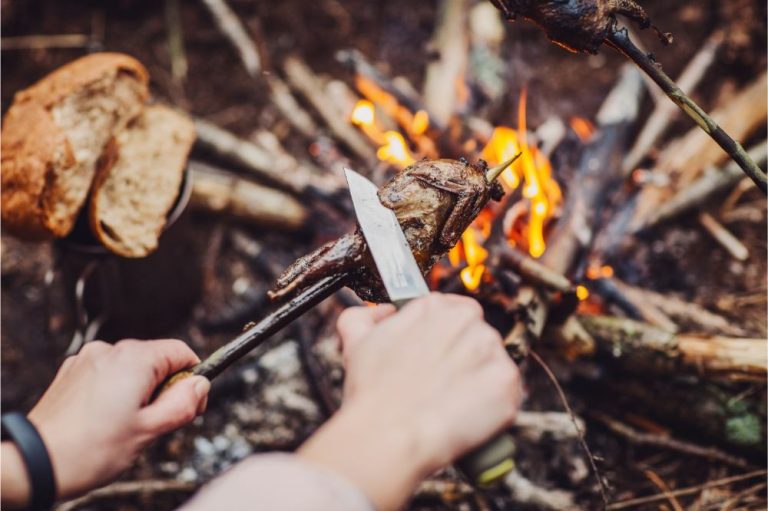
🔥 Tripod Spit Roast: Add a long stick through the tripod legs, perfect for roasting game or fish.
-
🔥 Quadpod Setup: Use four poles instead of three for added stability in sandy or rocky soil.
These upgrades make your cooking station more flexible depending on your camp setup.
🧠 Pro Tips for Success
-
Build before lighting the fire to avoid burns.
-
If you don’t have cordage, use flexible saplings or notch the wood so poles interlock.
-
Always keep a bucket of water or sand nearby to manage flare-ups.
-
Reuse the tripod later as a gear hanger or even the frame of a quick shelter.
For more outdoor cooking strategies — from modern stoves to old-school tricks — head to the 🍳 Campfire-Free Cooking Guide.
✅ Final Word
A bushcraft cooking tripod is more than a camp convenience — it’s a survival asset. With three poles, some cordage, and a bit of skill, you’ll have a hands-free cooking system that works anywhere, anytime.
👉 Looking to upgrade your bushcraft kit? Here are must-haves I recommend: