
How to Build a Bug-Out Bag in 5 Minutes
Can you build a bug-out bag in just five minutes? Yes, if you already have the essential supplies gathered and know exactly what to pack. A five-minute packing drill can help you organize emergency gear quickly when time is limited, but it is not a substitute for preparing before a disaster.
This post contains affiliate links. I may earn a small commission at no extra cost to you. Learn more.
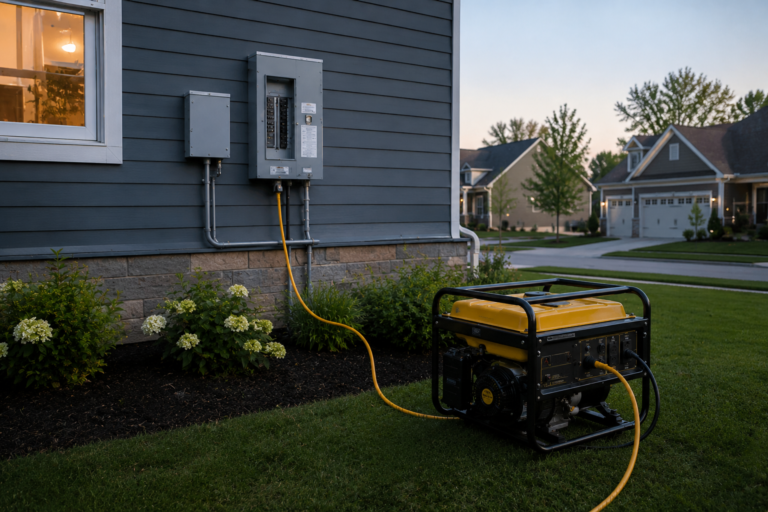
Whether you’re facing a wildfire evacuation, approaching hurricane, chemical emergency, or another situation requiring you to leave home, the last thing you want is to waste precious minutes searching for medication, water, identification, or emergency supplies.
This guide explains how to build a bug-out bag in five minutes using a simple timed system. You’ll learn which supplies deserve priority, how to arrange them inside your backpack, what to leave behind, and how to practice the drill so your emergency bag is ready when you need it.
The objective is straightforward: assemble a practical evacuation bag without forgetting the items that matter most.
Quick Answer: How Do You Build a Bug-Out Bag in 5 Minutes?
Start with an empty backpack and emergency supplies you’ve already collected. Spend 30 seconds opening and preparing the pack, one minute loading water and critical supplies, one minute adding clothing and shelter, one minute organizing quick-access essentials, and the final 90 seconds checking medications, documents, communication equipment, and fit. If an evacuation order requires you to leave immediately, take your available essentials and go rather than delaying departure to finish packing.
Why a Five-Minute Bug-Out Bag Drill Matters
A bug-out bag is a portable emergency kit designed to help you evacuate quickly and manage essential needs while traveling to a safer location.
Traditional bug-out bags are often built around 72 hours of supplies. That remains a useful planning framework, but an emergency can happen before you’ve finished preparing a complete kit.
The five-minute drill teaches you to identify and pack the most important items first.
Practicing this routine offers several benefits:
- Faster decisions: You already know which supplies belong in the bag.
- Fewer forgotten essentials: A checklist helps you remember critical personal items.
- Better organization: Frequently used equipment remains accessible.
- Reduced unnecessary weight: You focus on practical evacuation needs.
- Greater familiarity: Regular practice helps you locate supplies without searching through the house.
The most effective emergency bag is one that’s already packed, inspected, and ready to carry. The five-minute drill is a backup method and a useful preparedness exercise.
For a complete household evacuation strategy, read our Emergency Preparedness Master Plan.
How to Build a Bug-Out Bag in 5 Minutes: The Packing Drill
Before starting the timer, gather your emergency supplies in one accessible location. This might be a closet shelf, storage bin, or designated preparedness area.
Use a comfortable backpack that can carry the necessary weight without restricting movement.
The following drill assumes that the supplies are available and that you are practicing in a safe environment.
Step 1: Prepare Your Backpack (0:00–0:30)
Time allowed: 30 seconds
Place your backpack on a stable surface and open the main compartment.
- Open the main zipper and accessible compartments.
- Check that the shoulder straps and buckles are usable.
- Remove unnecessary items that occupy valuable space.
- Keep the pack upright or supported so it can be loaded quickly.
Choose a bag that is large enough for your actual emergency supplies but not so large that it encourages overpacking.
A backpack in the 25–40 liter range can work for many adults, depending on body size, climate, trip duration, and the amount of equipment needed.
Families, people carrying medical equipment, and those preparing for cold weather may require different capacities.
Step 2: Load Water and Critical Supplies (0:30–1:30)
Time allowed: 1 minute
Start with items that support immediate health, hydration, and evacuation.
- Drinking water: Pack filled water bottles or a hydration reservoir.
- Emergency food: Add compact, shelf-stable snacks such as energy bars, nuts, or other suitable foods.
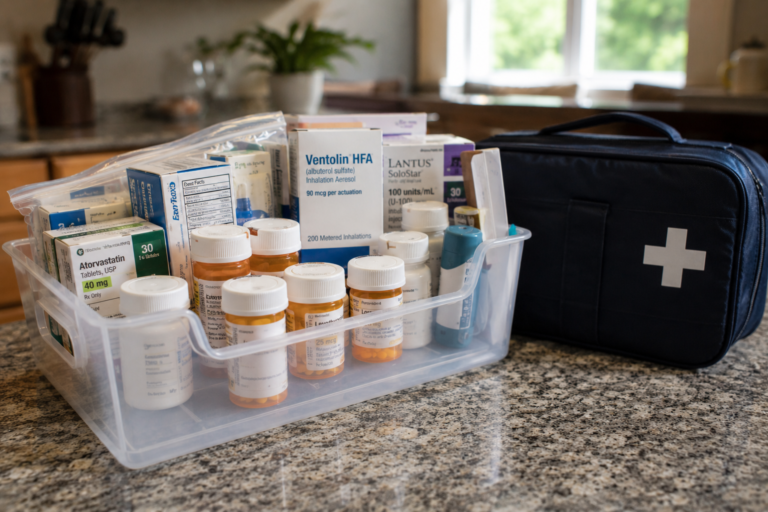
- Essential medications: Include available emergency medication supplies and necessary medical equipment.
- First-aid supplies: Add a compact kit appropriate for your household.
Position heavier items close to your back, generally around the middle of the pack, while keeping the overall load balanced.
Avoid placing all heavy equipment at the bottom or allowing bottles and tools to shift during movement.
Water comes before filtration equipment. A portable filter may be useful later, but it cannot replace carrying drinking water during an evacuation.
Step 3: Add Clothing and Emergency Shelter (1:30–2:30)
Time allowed: 1 minute
Next, pack lightweight protection against the weather.
- Weather-appropriate insulating or protective layer.
- Spare socks.
- Compact rain protection.
- Emergency bivvy or suitable emergency blanket.
- Small personal hygiene supplies.
Use soft clothing to fill gaps around heavier equipment and prevent items from moving.
The correct clothing depends on your climate and the emergency. Cold-weather evacuations require different protection than summer wildfire evacuations.
An emergency bivvy can reduce wind exposure and help limit heat loss, but it does not replace a properly insulated sleeping system in severe cold.
Step 4: Organize Quick-Access Equipment (2:30–3:30)
Time allowed: 1 minute
Place frequently needed items in the top compartment or exterior pockets.
- Headlamp or flashlight: For visibility during outages and nighttime travel.
- Emergency whistle: For attracting attention.
- Map and compass: For navigation when electronic systems are unavailable.
- Phone charging equipment: Include a compatible cable and charged power bank.
- Emergency contact information: Keep a written copy in a protected location.
- Protective equipment: Include items appropriate for local hazards, such as a suitable particulate respirator for wildfire smoke.
A small multi-tool may be useful, but specialized wilderness tools should not displace medications, communication equipment, or other essential evacuation supplies.
Keep sharp tools properly secured and follow applicable laws and evacuation-site restrictions.
Step 5: Check Personal Essentials and Fit (3:30–5:00)
Time allowed: 90 seconds
The final step focuses on items that are easy to forget but difficult to replace.
- Identification and copies of essential documents.
- Cash in small denominations.
- Prescription medications and necessary medical supplies.
- House and vehicle keys.
- Phone and charging equipment.
- Eyeglasses or other essential personal items.
- Emergency contact details.
Place documents in a waterproof pouch or protective sleeve.
Close the backpack, lift it, and check the fit.
Adjust the shoulder straps and hip belt if your pack has one. Make sure the bag is comfortable enough to carry and that essential equipment remains accessible.
Five-minute drill complete.
If you cannot finish within five minutes, identify which supplies caused delays and improve your storage system before practicing again.
Five-Minute Bug-Out Bag Packing Schedule
This table provides a quick overview of the complete drill.
| Time | Packing Stage | Essential Items |
|---|---|---|
| 0:00–0:30 | Prepare the pack | Backpack, open compartments, strap check |
| 0:30–1:30 | Load critical supplies | Water, food, medications, first aid |
| 1:30–2:30 | Add protection | Clothing, socks, rain protection, emergency bivvy |
| 2:30–3:30 | Organize quick-access gear | Light, whistle, navigation, charging equipment |
| 3:30–5:00 | Final essentials and fit | Documents, cash, keys, personal items, straps |
What Should Be in a Basic Bug-Out Bag?
A practical bug-out bag should cover immediate evacuation needs while remaining manageable to carry.
Start with the supplies that address hydration, medical needs, weather exposure, communication, and navigation.
Water and Food
Carry drinking water appropriate for your expected evacuation conditions, along with a reserve when practical.
Pack shelf-stable food that requires little or no preparation.
Good examples include:
- Energy bars.
- Trail mix or nuts, if suitable for your dietary needs.
- Ready-to-eat snacks.
- Other compact foods that tolerate storage conditions.
A stove and cook kit can be useful in a larger emergency setup, but they are not essential for every short-notice evacuation.
Medical and Personal Supplies
Include basic first aid and the personal items needed to maintain health and function.
Consider:
- Prescription medication supplies.
- Necessary medical devices and compatible power supplies.
- Bandages and wound-care materials.
- Personal hygiene items.
- Eyeglasses or other essential aids.
- Copies of important medical information.
Keep time-sensitive medications accessible and follow their storage requirements. Some medications cannot safely remain in a hot vehicle or unconditioned storage area.
Clothing and Weather Protection
Pack clothing based on local weather and seasonal conditions.
Rain protection, spare socks, and an insulating layer may be especially useful when travel is delayed.
For colder conditions, add appropriate gloves, head protection, and additional insulation.
Communication and Navigation
A charged phone is valuable, but it should not be your only emergency communication plan.
Consider a charged power bank, written emergency contacts, offline maps, and a compact emergency radio where appropriate.
Remote travel may justify additional equipment, such as a satellite messenger or personal locator beacon.
3 Useful Products for a Fast Bug-Out Bag
Choosing the right equipment can make a bug-out bag easier to organize, carry, and use during an emergency.
The following three categories are useful starting points for building a practical evacuation kit.
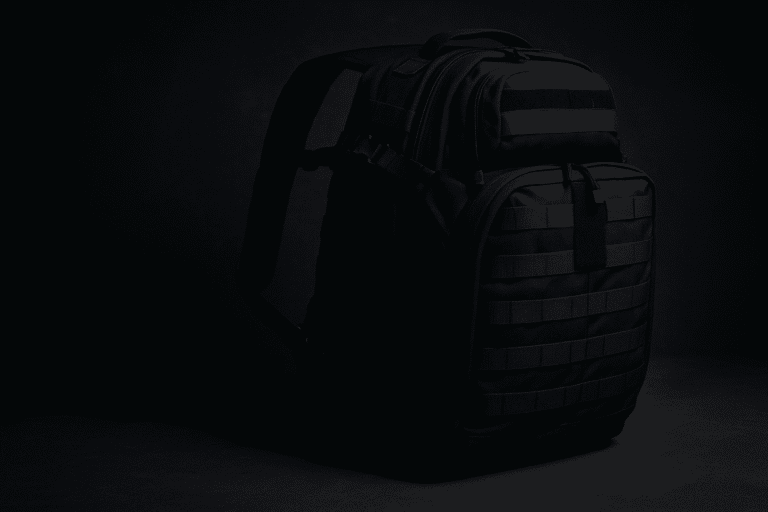
1. Tactical Backpack for Emergency Supplies
A dependable backpack should offer sufficient capacity, comfortable straps, and accessible storage compartments.
Look for a pack that fits your body and holds your essential supplies without excessive bulk.
A 30–40 liter bag may be appropriate for some adults, but capacity should be based on actual equipment needs rather than a fixed rule.

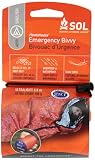
2. Compact Emergency Bivvy
An emergency bivvy provides a lightweight backup layer against wind and some environmental exposure.
It can be useful when an evacuation is delayed or you must remain outdoors unexpectedly.
However, emergency bivvies have limitations. They may trap moisture and generally do not provide the insulation needed for prolonged exposure to severe cold.
3. LifeStraw Personal Water Filter
A compact personal water filter provides a backup option when an appropriate freshwater source is available.
Many personal filters are designed to reduce bacteria and protozoa but do not remove every possible hazard, including many viruses, dissolved chemicals, or salt.
Carry drinking water first, and use filtration only within the manufacturer’s stated capabilities.


For a broader approach to emergency water treatment, see our Ultimate Water Purification Guide.
Five-Minute Bug-Out Bag Checklist
Use this checklist during practice sessions to make sure your most important supplies are accounted for.
Common Bug-Out Bag Packing Mistakes
Even experienced preppers can make mistakes when packing under time pressure.
1. Packing Too Much Equipment
Heavy backpacks increase fatigue and can make evacuation more difficult.
Focus on items that address realistic risks instead of filling every compartment with specialized survival tools.
2. Forgetting Personal Medications
Medical supplies can be more important than many traditional survival tools.
Maintain an accessible medication plan and keep necessary items ready for evacuation.
3. Carrying a Filter Instead of Drinking Water
Water filters require a suitable source and cannot remove every contaminant.
Pack drinking water first and consider filtration a supplementary capability.
4. Ignoring Backpack Fit
A poorly fitted backpack can cause discomfort, imbalance, and unnecessary strain.
Practice carrying the loaded pack before relying on it during an emergency.
5. Never Practicing the Packing Drill
A checklist is useful, but practicing reveals problems that are easy to miss on paper.
Time yourself, identify delays, and reorganize supplies to improve efficiency.
6. Waiting Too Long to Evacuate
Do not allow packing to delay departure when authorities order an evacuation or immediate conditions become dangerous.
A partially packed bag is not worth remaining in the path of a wildfire, flood, or other serious threat.
Five-Minute Bag vs. 72-Hour Bug-Out Bag
A five-minute packing drill and a complete 72-hour bug-out bag serve related but different purposes.
| Feature | Five-Minute Packing Drill | Prepared 72-Hour Bag |
|---|---|---|
| Main purpose | Rapidly assemble essential supplies. | Maintain a ready-to-carry emergency kit. |
| Preparation | Supplies gathered before the drill. | Equipment packed and maintained in advance. |
| Contents | Priority evacuation essentials. | Broader supplies for potential multi-day disruption. |
| Best use | Preparedness practice and backup packing method. | Immediate evacuation when time is limited. |
For most households, maintaining a complete bag in advance is the more dependable strategy.
Our Ultimate 72-Hour Bug-Out Bag Guide explains how to build a more comprehensive emergency kit for extended disruptions.
How Often Should You Practice Packing Your Bug-Out Bag?
Practice the five-minute drill whenever you significantly change your equipment or storage arrangement.
A periodic review is also useful for checking:
- Expired food and medical supplies.
- Water container condition.
- Battery charge levels.
- Seasonal clothing needs.
- Changes in household medical requirements.
- Updated contact information.
- Backpack fit and overall weight.
Households with children, older adults, pets, or people with medical needs should customize the packing routine accordingly.
Emergency supplies should reflect the actual people who may need to evacuate, not just a generic survival gear list.
Frequently Asked Questions About Building a Bug-Out Bag
Can you really build a bug-out bag in five minutes?
Yes, you can assemble a basic emergency bag in five minutes when your supplies are already collected and you have practiced the process. Gathering everything from different locations without preparation will usually take longer.
What is the first thing to pack in a bug-out bag?
Prioritize essential medications, drinking water, personal identification, and other items needed for immediate safety. The exact order depends on your circumstances and the emergency.
What size backpack is best for a bug-out bag?
Many adults find backpacks around 25–40 liters useful for compact emergency kits, but the appropriate size depends on body size, climate, required equipment, and evacuation duration.
How heavy should a bug-out bag be?
There is no single ideal weight for everyone. The bag should be light enough for the intended user to carry safely over the expected distance and terrain. Test the fully loaded pack before an emergency.
Do you need a knife in a bug-out bag?
A suitable multi-tool or knife can be useful, but it is not more important than medications, water, communication, and other essential evacuation supplies. Follow local laws and any restrictions at shelters or evacuation facilities.
Should you pack a stove in a bug-out bag?
A stove may be useful for extended outdoor emergencies, but it is not necessary for every evacuation. Ready-to-eat food is often more practical when time, space, and weight are limited.
Is a five-minute bug-out bag enough for 72 hours?
Not necessarily. The five-minute drill focuses on rapidly assembling priority supplies. A full 72-hour kit requires more detailed planning for water, food, medications, weather, hygiene, and individual needs.
Where should you store your bug-out bag?
Store it in an accessible location protected from moisture, pests, and damaging temperatures. Avoid storing heat-sensitive medications, batteries, or other vulnerable supplies in conditions that exceed their recommended storage limits.
Final Thoughts: Prepare Now, Pack Fast, and Evacuate Safely
Learning to build a bug-out bag in five minutes is a practical emergency preparedness exercise. It helps you recognize essential supplies, organize your equipment, and reduce avoidable delays when circumstances change quickly.
But the strongest evacuation plan begins before the emergency.
Keep critical supplies ready, maintain your equipment, practice carrying your bag, and establish a household evacuation plan.
When an actual evacuation becomes necessary, prioritize safety over packing perfection.
A reliable bug-out bag is not measured by how many survival gadgets it contains. It is measured by how effectively it supports your immediate needs when you have to leave home.
Further Reading
- Ultimate 72-Hour Bug-Out Bag Guide
- Best Bug-Out Bags for Emergency Preparedness
- Emergency Preparedness Master Plan
- Ultimate Water Purification Guide
- Shelter Building Tools for Survival
- Survival Camping: Essential Skills and Gear
As an Amazon Associate, The Savvy Survivalist earns from qualifying purchases.