Grid-Down Camp Setup: Complete Off-Grid Survival Guide
A reliable grid down camp setup gives you a place to cook, store water, recharge essential equipment, and maintain communication when the power grid is unavailable. Whether you are preparing a temporary base in your backyard or an off-grid campsite, the goal is the same: keep essential systems working without depending entirely on household electricity.
This post contains affiliate links. I may earn a small commission at no extra cost to you. Learn more.
Building that setup does not require buying every survival gadget on the market. A practical system starts with dependable shelter, safe drinking water, an appropriately sized backup power source, and a few carefully selected tools.
This guide explains how to organize a grid-down camp, calculate your power needs, select useful equipment, and test your setup before an emergency. For a broader household strategy, see our Emergency Preparedness Master Plan.
1. Start With a Practical Grid-Down Camp Plan
Before purchasing equipment, decide what your camp must accomplish. A short-term backyard setup designed for a three-day outage will have different requirements from a remote campsite intended to support several people for weeks.
Start by answering four questions:
- How many people will depend on the camp?
- How long should your stored supplies last without resupply?
- Which electrical devices are essential?
- Will the camp remain in one location or need to be packed and moved?
For most households, the first priorities are drinking water, weather protection, food preparation, lighting, and communication. Refrigeration and medical equipment may also be critical, depending on the people involved.
Grid-Down Camp Planning Checklist
- Choose a safe location with good drainage.
- Identify a sheltered sleeping and living area.
- Designate separate cooking and fuel-storage areas.
- Calculate daily drinking-water requirements.
- List essential electrical loads.
- Prepare a backup communication method.
- Identify evacuation routes and nearby emergency services.
2. Choose the Right Portable Power Station
A portable power station can provide electricity for LED lighting, radios, phones, laptops, small appliances, and certain refrigeration equipment. The correct size depends on how much energy your devices consume.
Do not choose a battery solely because its advertising says it can power a refrigerator or run multiple appliances. Two ratings matter most:
- Battery capacity (Wh): The amount of energy stored.
- Continuous output (W): The amount of power the unit can supply at one time.
Motor-driven equipment may also require additional starting power. Always check both the running load and starting surge.
Primary Power Station: EcoFlow DELTA 2 Max
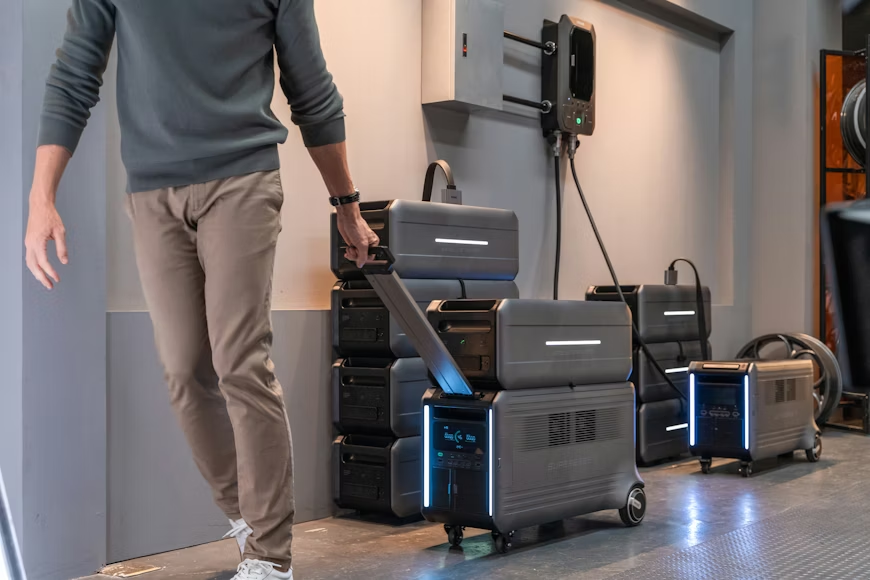
The EcoFlow DELTA 2 Max is a practical example of a larger portable power station for a temporary grid-down base. Its nominal 2,048 Wh battery provides considerably more storage than a small USB power bank, and compatible solar panels can recharge it when sunlight is available.

This type of unit makes sense when your camp needs to support several essential devices. Before purchasing, verify the exact model, inverter rating, solar-input limits, and compatibility with expansion batteries.
Smaller Backup: Bluetti AC70
A second, smaller power station can keep communication equipment and lights operating while the main battery is being charged or used for higher-priority loads.

The Bluetti AC70, with a nominal 768 Wh capacity, is an example of this smaller backup category. It is better suited to modest electrical loads than prolonged high-wattage cooking or heating.
Power Station Buying Tip
For a first grid-down camp, one properly sized main battery and a small backup are usually more practical than purchasing several large power stations. Measure your electrical consumption before spending money on expansion batteries.
3. Calculate Battery Runtime Before You Need It
Battery runtime is one of the most important parts of a grid-down camp plan. A large battery can still discharge quickly when connected to high-wattage appliances.
Start with this basic calculation:
Daily energy use (Wh) = Device wattage × Hours operated
For equipment that cycles on and off, such as refrigerators, use measured average consumption rather than the maximum wattage printed on the label.
Example Daily Electrical Budget
| Equipment | Daily Energy |
|---|---|
| LED lighting | 100 Wh |
| Phones and radios | 80 Wh |
| Small fan | 160 Wh |
| Efficient refrigerator | 600 Wh |
| Total | 940 Wh |
These figures are examples, not guaranteed consumption. Refrigeration needs vary substantially with ambient temperature, insulation, and how often the door opens.
At 940 Wh per day, a 2,048 Wh power station might provide roughly 1.7 days of operation if approximately 80% of its nominal capacity is available after losses. Actual results depend on the equipment and operating conditions.
For a more detailed estimate, use our battery and power station runtime calculator.
4. Add Solar Panels for Renewable Charging
Solar panels can extend battery runtime by replacing energy consumed during the day. However, solar production changes with cloud cover, season, temperature, panel orientation, and shading.
A 220 W panel does not continuously produce 220 W from sunrise to sunset. Its rating represents performance under specified test conditions.
Choosing a Portable Solar Panel
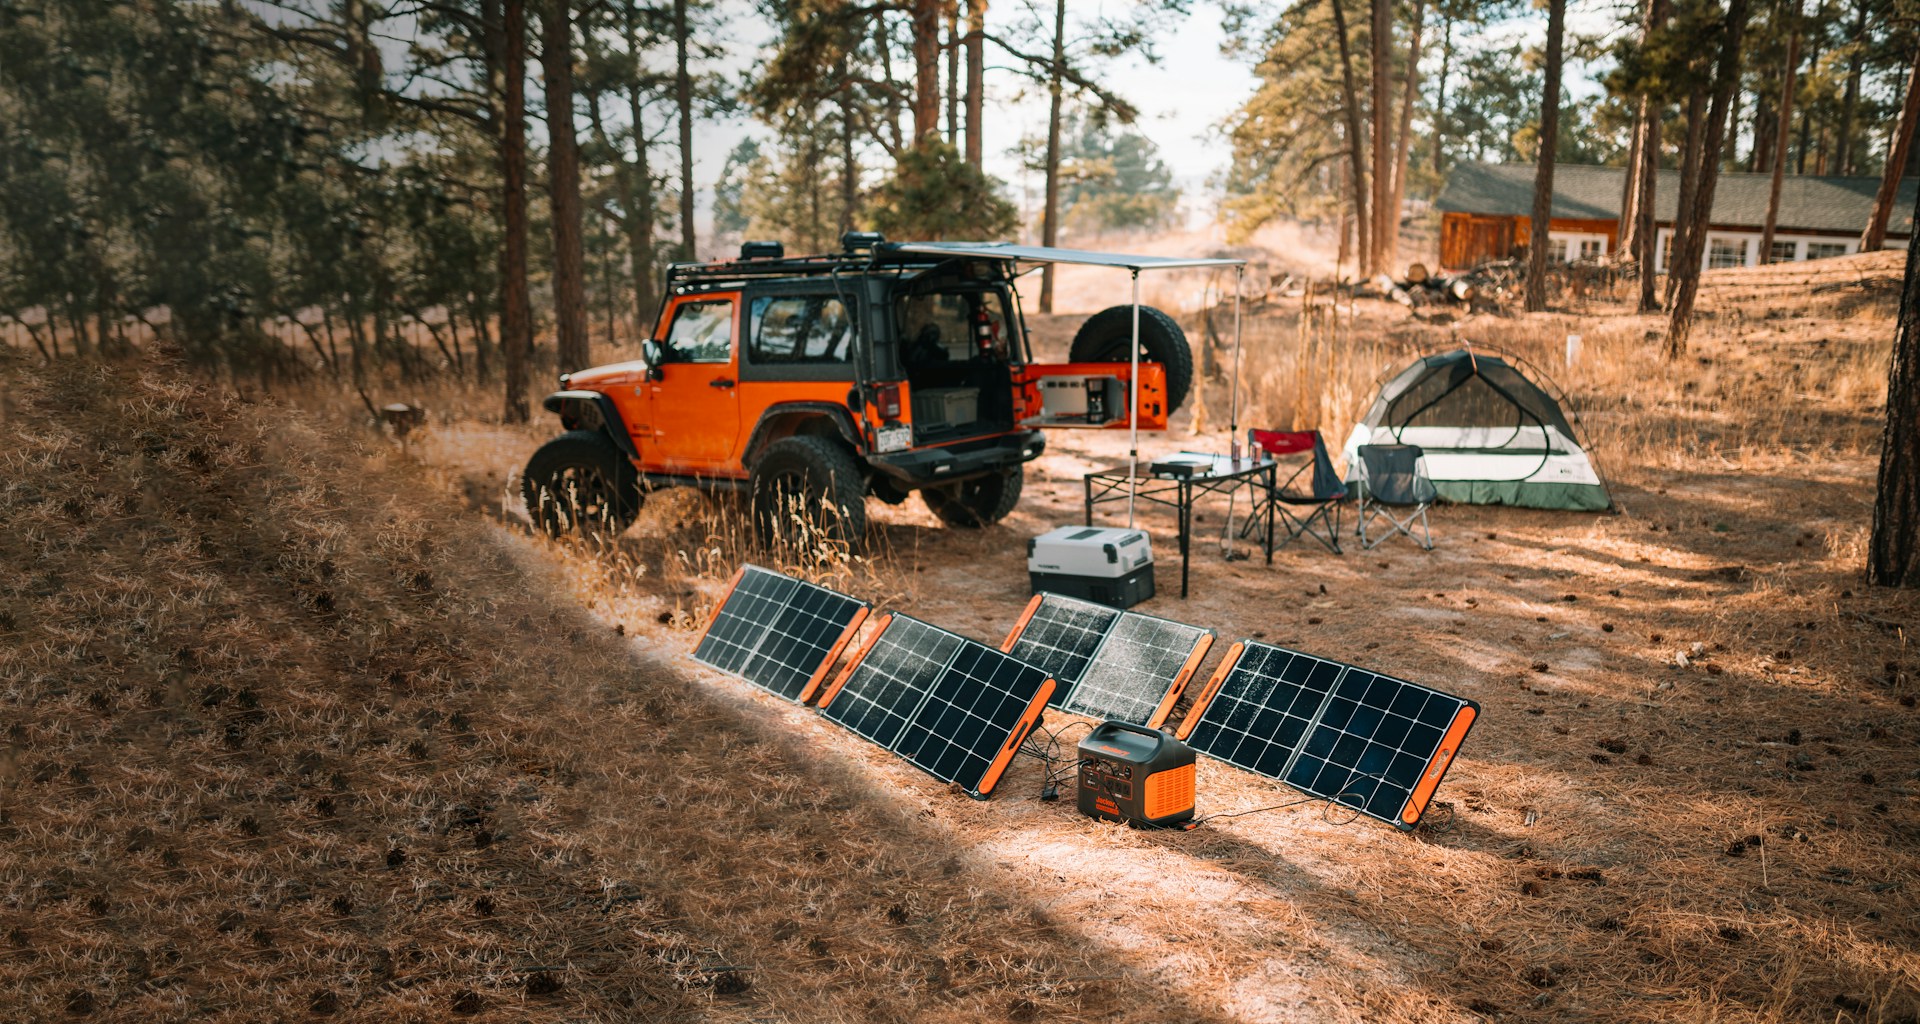
The EcoFlow 220 W Bifacial Portable Solar Panel is one example of a folding panel suitable for compatible portable power stations.
Another solar charging option is the Jackery SolarSaga 200 W Panel. Before purchasing, verify that the panel’s voltage, current, connectors, and charging specifications are compatible with your particular power station.
How Much Solar Power Do You Need?
Suppose your camp consumes 940 Wh daily. Two 220 W panels provide 440 W of combined rated capacity.
With three effective peak-sun-hours and an illustrative 75% overall system efficiency:
440 W × 3 hours × 0.75 = 990 Wh per day
That would approximately replace the example daily consumption under those conditions. Poor weather could produce substantially less, so a reliable system needs stored energy and a backup charging plan.
Solar Setup Checklist
- Check the power station’s maximum solar-input voltage and current.
- Use compatible connectors and properly rated cables.
- Place panels where they receive unobstructed sunlight.
- Keep electrical connections dry and protected.
- Secure panels against wind.
- Measure actual charging output before relying on the system.
5. Establish a Safe Cooking Area
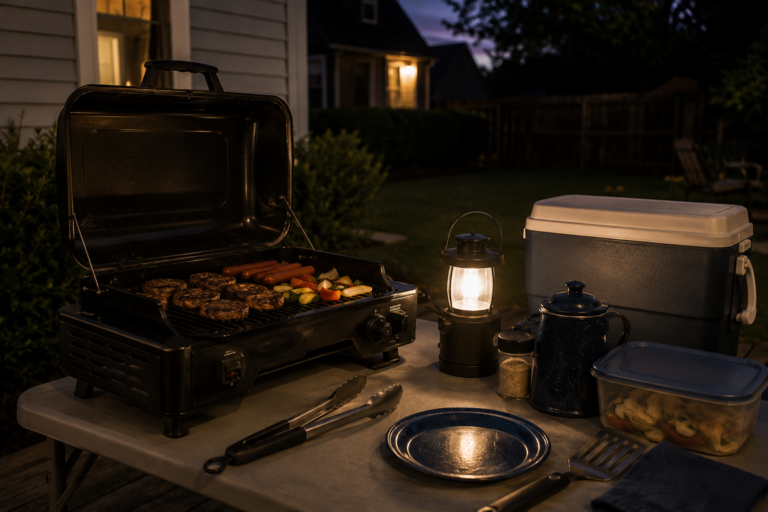
Cooking is essential during an extended outage, but it should not consume your entire battery supply. Electric appliances can be useful when plenty of power is available, while an outdoor camp stove offers a separate cooking option.
Outdoor Canister Stove
The SOTO WindMaster is an example of a compact stove designed for outdoor cooking. Its small size makes it practical for boiling water and preparing simple meals without relying on a large battery.

Use only the fuel types approved for your specific stove and follow the manufacturer’s instructions. A GSI Glacier Cook Set is one existing cookware option.
Simple meals such as oatmeal, rice, soup, and canned foods can reduce cooking time and fuel consumption.
Carbon Monoxide and Fire Safety
Never operate camp stoves, charcoal grills, generators, or other fuel-burning equipment inside tents, vehicles, garages, or enclosed shelters. Carbon monoxide can accumulate rapidly, even when windows or doors are open.
Keep fuel and open flames away from tents and combustible materials. Follow equipment clearances and store fuel according to its label.
6. Build a Weather-Resistant Shelter
Reliable shelter protects both people and supplies from wind, rain, excessive heat, and cold. For a temporary outdoor grid-down base, prioritize weather resistance, adequate ventilation, and enough usable space for your household.
Choose a Shelter for Your Climate
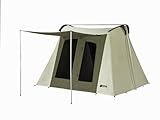
The Kodiak Canvas Flex-Bow tent is an example of a substantial camping shelter for people who need more living space than a compact backpacking tent.
Before selecting a tent, consider the number of occupants, local weather, packed weight, setup time, and whether the shelter must be transported frequently.
Organize the Camp Into Four Zones
- Living zone: Sleeping, clothing, personal supplies, and first aid.
- Power zone: Portable batteries, solar charging equipment, and protected electrical connections.
- Cooking zone: Outdoor stove, fuel, food preparation, and fire-safety equipment.
- Water and sanitation zone: Drinking-water containers, filtration, handwashing, and waste management.
Keep cooking and combustion equipment separate from sleeping areas. Power stations should remain dry and ventilated within their specified operating temperatures.
Weatherproofing Essentials
- Choose elevated ground rather than a low area that collects runoff.
- Stake and guy out the tent according to its instructions.
- Use a properly sized groundsheet without directing rainwater beneath the tent.
- Keep sleeping bags and spare clothing dry.
- Secure loose equipment before storms.
- Mark guy lines and walking paths to prevent nighttime trips.
For cold weather, use insulated sleeping pads, suitable sleeping bags, and dry clothing. Never attempt to heat a tent with an outdoor camp stove or an improvised combustion heater.
7. Store and Treat Enough Drinking Water
Water is more important than most electronic equipment. A grid-down camp should have stored drinking water and a backup method for treating additional water when necessary.
A common emergency planning baseline is at least one gallon per person per day for drinking and basic sanitation. Hot weather, physical activity, cooking, pets, and medical needs may require considerably more.
Example Water Storage for Four People
| Duration | 1 Gallon per Person/Day | 2 Gallons per Person/Day |
|---|---|---|
| 3 days | 12 gallons | 24 gallons |
| 7 days | 28 gallons | 56 gallons |
| 14 days | 56 gallons | 112 gallons |
Portable Water Filtration
A portable filter provides a useful backup when properly selected for the available water source. The Survivor Filter Pro is an example of a manual pump-style filtration system.

Before relying on any filter, review its tested contaminant-removal claims and instructions. Many filters remove bacteria and protozoa but do not reliably remove viruses or dissolved chemical contamination.
When necessary, combine filtration with an appropriate additional treatment method. Do not assume that clear-looking water is safe to drink.
Water Safety Checklist
- Use food-grade drinking-water containers.
- Label containers and record filling dates.
- Keep untreated and treated water separate.
- Store water away from fuel and chemicals.
- Replace self-filled stored water on an appropriate schedule.
- Carry a manual treatment method that does not require electricity.
8. Maintain Emergency Communication and Lighting
Reliable communication helps you receive weather warnings, coordinate with family, and request assistance. Lighting reduces falls and makes routine nighttime tasks safer.
Emergency Radio
An emergency radio capable of receiving weather broadcasts provides information even when internet service is unavailable. Choose one with practical battery options and test reception where you expect to use it.

For two-way communication, GMRS and amateur radio can be useful, but the equipment and licensing requirements differ. In the United States, GMRS generally requires an FCC license, and amateur-radio transmission generally requires an amateur license. Program permitted channels and practice before an emergency.
Build a Layered Lighting System
Instead of relying on one bright lantern, use several types of lighting:
- LED lantern: General illumination in the living area.
- Headlamp: Hands-free cooking, repairs, and nighttime movement.
- Low-output pathway light: Safer walking routes.
- Backup flashlight: Independent emergency lighting.
Rechargeable lights reduce disposable-battery consumption when charging is available, but keep at least one independent backup.
Communication Backup Plan
- Store important phone numbers on paper.
- Agree on a family meeting location.
- Keep a charged power bank for phones.
- Test radio reception and permitted communication channels.
- Carry spare batteries or a compatible charging method.
9. Keep Essential Tools and Backup Supplies
Even well-planned equipment can fail. A small repair kit allows you to handle ordinary problems such as damaged tent fabric, loose fasteners, worn cords, and basic non-energized equipment maintenance.
Recommended Maintenance Kit
- Basic screwdriver, wrench, and plier set.
- Multimeter for appropriate low-voltage diagnostics.
- Replacement fuses specified by the equipment manufacturer.
- Electrical tape and correctly rated connectors.
- Paracord, duct tape, and zip ties.
- Tent repair patches and spare stakes.
- Work gloves and a suitable fire extinguisher.
- Printed equipment manuals and emergency contacts.
Never work on energized wiring or attempt to repair a damaged lithium battery. Stop using equipment that shows swelling, overheating, smoke, or other signs of failure.
Generator Backup for Extended Cloudy Weather
If your camp includes a fuel-burning generator, it may provide an additional charging option when solar production is insufficient. Select a model with suitable electrical output and follow the power-station manufacturer’s charging requirements.
Operate generators outdoors, at least 20 feet from occupied buildings when feasible, with exhaust directed away from openings. Never connect a generator to home wiring without approved transfer equipment installed correctly.
For additional guidance, read our Generator Grounding and Bonding Made Simple article.
10. Test Your Grid-Down Camp Setup
The best time to discover a weak point is before an emergency. A short practice session can reveal insufficient battery capacity, inconvenient equipment placement, water shortages, or poor radio reception.
Run a 24-Hour Practice Drill
Set up your camp in a safe location and operate your selected essential devices from portable backup equipment. Do not turn off your home’s main electrical breaker as an improvised test or connect portable equipment to household wiring without approved transfer equipment.
During the drill, record:
- Battery charge at the beginning and end of the day.
- Actual solar energy collected.
- Electrical consumption from essential appliances.
- Water used for drinking, cooking, and washing.
- Cooking fuel consumed.
- Radio reception and communication reliability.
- Shelter comfort and nighttime visibility.
After the test, identify the weakest part of the setup. Make improvements and repeat the drill before attempting a longer 72-hour or week-long exercise.
Final Grid-Down Camp Checklist
- Safe shelter with weather protection.
- Stored drinking water and a treatment backup.
- Portable power station sized for essential loads.
- Compatible solar panels and charging cables.
- Outdoor cooking equipment and adequate fuel.
- LED lighting and spare batteries.
- Emergency radio and communication plan.
- First-aid supplies and maintenance tools.
- Separate sanitation and waste-management supplies.
- Completed practice drill and written power budget.
Conclusion: Build a Camp That Works When the Grid Does Not
A dependable grid down camp setup is built around practical needs rather than the number of products you own. Start with safe shelter and drinking water, then add cooking equipment, communication, lighting, and a backup power system sized for your actual electrical loads.
Solar panels can extend battery runtime, but weather and consumption determine how long the system can operate. Regular maintenance, realistic supply planning, and hands-on testing are what turn a collection of equipment into a dependable emergency setup.
Build the essentials first, test them under controlled conditions, and expand only when you understand the limitations of your existing equipment.